Open Microsoft Visual C# 2010 Express. If you don't have it, it is free and you can get it here. Click on "New Project" and select "Windows Forms Application."


Change its width to suite you, but leave its hight the same. Set form border style to "none,"text to anything you like and Locked to true.


Then set the transparency key to "blue" which is under them "web" tab that comes up when Transparency Key is clicked.

Go to any free web site host that allows the uploading and viewing of HTML files. I suggest Webs and Yola will not work. Log in or create an account. Then open Notepad and enter this code:
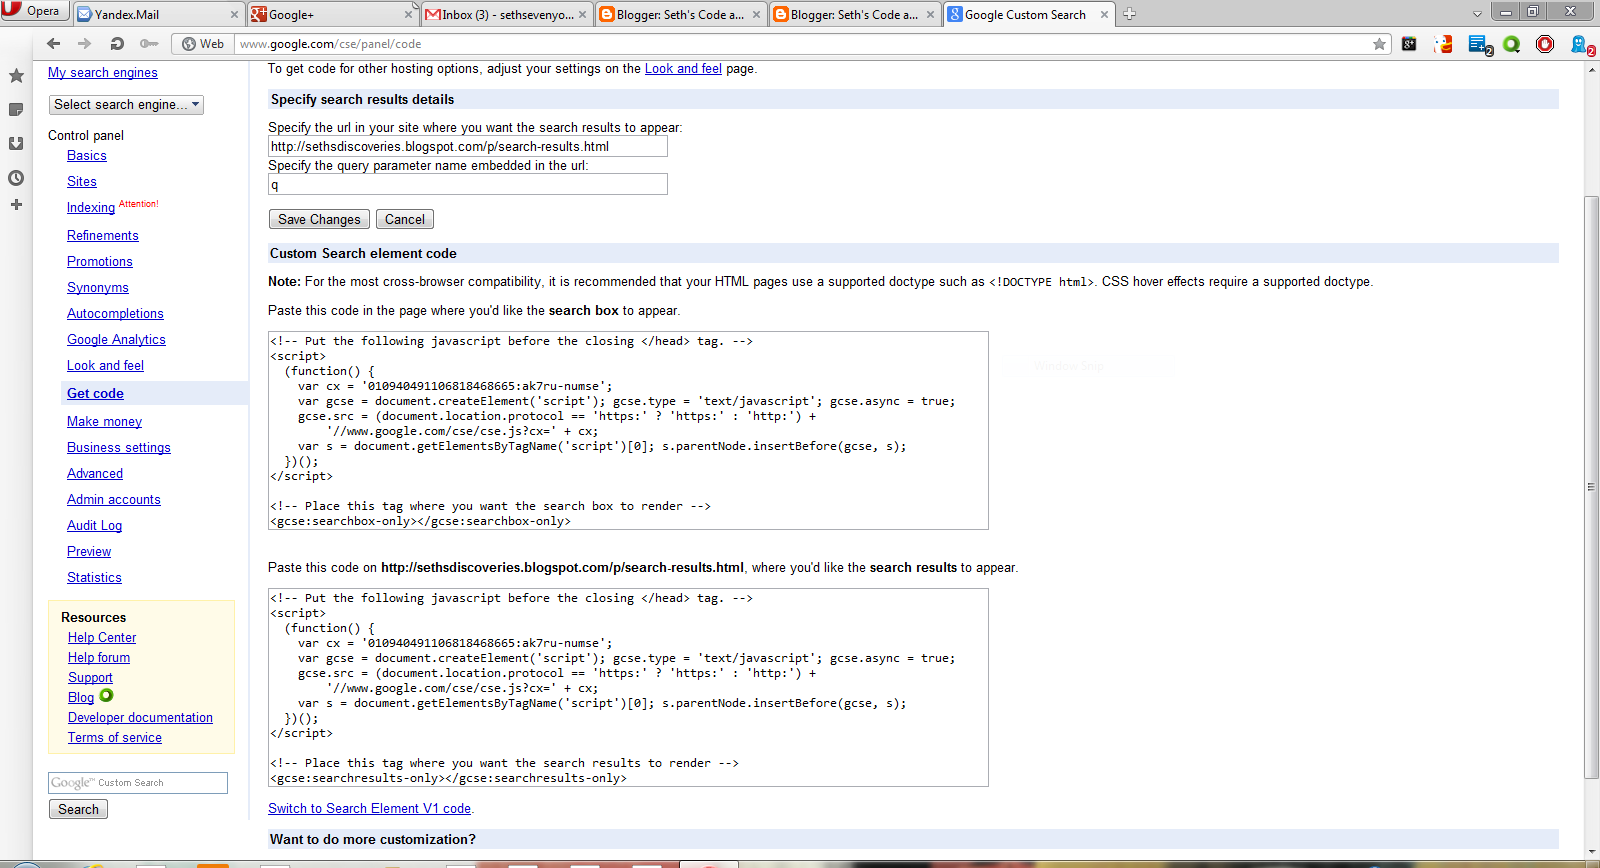
If you want Google search enter this code
If you want Google search enter this code
<body bgcolor="blue">
<!-- Begin Google Search Code -->
<form id="searchform" method="get" name="searchform" action="http://www.google.com/search" target="_blank"><input onfocus="searchfield_focus(this)" type="text" id="as_q" name="as_q" value="Search"><span class="Apple-converted-space"> </span><input type="submit" value="Search" title="Search" style="font-family: verdana, helvetica, arial, sans-serif; font-size: 11px; height: 22px; margin-top: 0px; margin-right: 0px; margin-bottom: 0px; margin-left: 0px; "></form> <!-- End Google Search Code -->
<!-- Begin Google Search Code -->
<form id="searchform" method="get" name="searchform" action="http://www.google.com/search" target="_blank"><input onfocus="searchfield_focus(this)" type="text" id="as_q" name="as_q" value="Search"><span class="Apple-converted-space"> </span><input type="submit" value="Search" title="Search" style="font-family: verdana, helvetica, arial, sans-serif; font-size: 11px; height: 22px; margin-top: 0px; margin-right: 0px; margin-bottom: 0px; margin-left: 0px; "></form> <!-- End Google Search Code -->
If you want a Bing search box:
<body bgcolor="blue">
<!--search from Bing-->
<form method="get" action="http://www.bing.com/search">
<input type="hidden" name="cp" value="1252" />
<input type="hidden" name="FORM" value="FREESS" />
<table bgcolor="#FFFFFF">
<tr>
<td>
<a href="http://www.bing.com/">
<img src="http://www.bing.com/siteowner/s/siteowner/Logo_51x19_Dark.png" border="0" ALT="Bing" />
</a>
</td>
<td>
<input type="text" name="q" size="30" />
<input type="submit" value="Search Site" />
</tr>
<form method="get" action="http://www.bing.com/search">
<input type="hidden" name="cp" value="1252" />
<input type="hidden" name="FORM" value="FREESS" />
<table bgcolor="#FFFFFF">
<tr>
<td>
<a href="http://www.bing.com/">
<img src="http://www.bing.com/siteowner/s/siteowner/Logo_51x19_Dark.png" border="0" ALT="Bing" />
</a>
</td>
<td>
<input type="text" name="q" size="30" />
<input type="submit" value="Search Site" />
</tr>
</table>
</form>
<!-- Search from Bing -->
</form>
<!-- Search from Bing -->
If you want a Duck Duck Go search box:
<body bgcolor="blue">
<script type="text/javascript" src="/d895.js"></script>
<style type="text/css">
html{overflow:hidden;}
#search_form_homepage {
float:none;
margin:0;
width:406px;
}
#logo {
float:left;
display:none;
}
#search_form_input_homepage {
width: 350px;
}
#search_wrapper_homepage {
width:42px;
}
</style>
</head>
<body>
<form onSubmit="return searchb()" id="search_form_homepage" name="x" action="http://duckduckgo.com/" target="_blank">
<img id="logo" src="/assets/logo_icon60.v101.png">
<div id="sxd"></div><div id="search_wrapper_homepage"><input id="search_button_homepage" type="submit" value=""/></div><input type="text" autocomplete="off" name="q" id="search_form_input_homepage" onFocus="if ('rc' in window) {nua('nro',rc)};fq=1;" onBlur="fq=0" onclick="if (this.value=='put search terms here') {this.value='';this.style.color='#000000';}" value="">
<script type="text/javascript">
var tracking=new RegExp('[\?\&]t=([^\&]+)');
if (tracking.test(window.location.href)) {
document.write('<input type="hidden" name="t" value="'+RegExp.$1+'">');
}
var karr = new Array('a','b','c','d','e','f','g','h','i','j','k','l','m','n','o','p','q','r','s','t','u','v','w','x','y','z','1','2','3','4','5','6','7','8','9','aa','ab','ac','ad','ae','af','ag','ah','ai','aj','ak','al','am','an','ao','ap','aq','ar','as','at','au','av','aw','ax','ay','az');
for (var i=0;i<karr.length;i++) {
var kre=new RegExp('[\?\&]k'+karr[i]+'=([^\&]+)');
var ktmp='';
if (kre.test(window.location.href)) {
ktmp=decodeURIComponent(RegExp.$1);
if (ktmp.length<11) document.write('<input type="hidden" name="k'+karr[i]+'" value="'+ktmp+'">');
if (karr[i]=='n'&&ktmp&&ktmp=='1') d.x.target='_new';
}
}
</script>
</form>
</div>
<script type="text/javascript">
var width=new RegExp('[\?\&]width=([^\&]+)');
if (width.test(window.location.href)) {
YAHOO.util.Dom.setStyle('search_form_input_homepage','width',RegExp.$1 + 'px');
YAHOO.util.Dom.setStyle('search_form_homepage','width',(parseInt(RegExp.$1)+58) + 'px');
}
var duck=new RegExp('[\?\&]duck=([^\&]+)');
if (duck.test(window.location.href)) {
var tmp_add = 75;
if (RegExp.$1=='small') {
d.getElementById('logo').src='/icon.v102.small.png';
tmp_add = 34;
} else {
YAHOO.util.Dom.setStyle('search_wrapper_homepage','margin-top','10px');
YAHOO.util.Dom.setStyle('search_form_input_homepage','margin-top','10px');
}
YAHOO.util.Dom.setStyle('search_form_homepage','width',(parseInt(YAHOO.util.Dom.getStyle('search_form_homepage','width'))+tmp_add) + 'px');
YAHOO.util.Dom.setStyle('logo','display','block');
}
var site=new RegExp('[\?\&]site=([^\&]+)');
var ssearch = '';
if (site.test(window.location.href)) {
ssearch = RegExp.$1;
}
var prefill=new RegExp('[\?\&]prefill=([^\&]+)');
var prefill_text = '';
if (prefill.test(window.location.href)) {
prefill_text = RegExp.$1;
prefill_text = prefill_text.replace(/%20/,' ');
// alert(val);
// console.log(val);
var search_form_input_homepage = d.getElementById('search_form_input_homepage');
search_form_input_homepage.value = decodeURIComponent(prefill_text);
YAHOO.util.Dom.setStyle(search_form_input_homepage,'color','#999999');
eval("search_form_input_homepage.onclick = function() {if (this.value=='" + prefill_text + "') {this.value='';this.style.color='#000000';}}");
}
var focus=new RegExp('[\?\&]focus=([^\&]+)');
if (focus.test(window.location.href)) {
window.onload = function() {
YAHOO.util.Dom.get("search_form_input_homepage").focus();
YAHOO.util.Dom.get("search_form_input_homepage").onkeydown = function(){
if (this.value == prefill_text) {
this.value = '';
}
this.style.color = '#000000';
};
YAHOO.util.Dom.get("search_form_input_homepage").onkeyup = function(){
if (this.value == '') {
this.value = prefill_text;
this.style.color = '#999999';
}
};
};
}
var bgcolor=new RegExp('[\?\&]bgcolor=([^\&]+)');
if (bgcolor.test(window.location.href)) {
if (RegExp.$1 === 'none')
YAHOO.util.StyleSheet('DDG').set('html', {background: "transparent"});
else
YAHOO.util.StyleSheet('DDG').set('html', {background: "#" + RegExp.$1});
} else {
YAHOO.util.StyleSheet('DDG').set('html', {background: "transparent"});
}
function searchb() {
if (ssearch) d.x.q.value += ' site:'+ssearch;
return true;
}
if (document.location.protocol=='https:') {
d.x.action='https://duckduckgo.com/';
}
</script>
<style type="text/css">
html{overflow:hidden;}
#search_form_homepage {
float:none;
margin:0;
width:406px;
}
#logo {
float:left;
display:none;
}
#search_form_input_homepage {
width: 350px;
}
#search_wrapper_homepage {
width:42px;
}
</style>
</head>
<body>
<form onSubmit="return searchb()" id="search_form_homepage" name="x" action="http://duckduckgo.com/" target="_blank">
<img id="logo" src="/assets/logo_icon60.v101.png">
<div id="sxd"></div><div id="search_wrapper_homepage"><input id="search_button_homepage" type="submit" value=""/></div><input type="text" autocomplete="off" name="q" id="search_form_input_homepage" onFocus="if ('rc' in window) {nua('nro',rc)};fq=1;" onBlur="fq=0" onclick="if (this.value=='put search terms here') {this.value='';this.style.color='#000000';}" value="">
<script type="text/javascript">
var tracking=new RegExp('[\?\&]t=([^\&]+)');
if (tracking.test(window.location.href)) {
document.write('<input type="hidden" name="t" value="'+RegExp.$1+'">');
}
var karr = new Array('a','b','c','d','e','f','g','h','i','j','k','l','m','n','o','p','q','r','s','t','u','v','w','x','y','z','1','2','3','4','5','6','7','8','9','aa','ab','ac','ad','ae','af','ag','ah','ai','aj','ak','al','am','an','ao','ap','aq','ar','as','at','au','av','aw','ax','ay','az');
for (var i=0;i<karr.length;i++) {
var kre=new RegExp('[\?\&]k'+karr[i]+'=([^\&]+)');
var ktmp='';
if (kre.test(window.location.href)) {
ktmp=decodeURIComponent(RegExp.$1);
if (ktmp.length<11) document.write('<input type="hidden" name="k'+karr[i]+'" value="'+ktmp+'">');
if (karr[i]=='n'&&ktmp&&ktmp=='1') d.x.target='_new';
}
}
</script>
</form>
</div>
<script type="text/javascript">
var width=new RegExp('[\?\&]width=([^\&]+)');
if (width.test(window.location.href)) {
YAHOO.util.Dom.setStyle('search_form_input_homepage','width',RegExp.$1 + 'px');
YAHOO.util.Dom.setStyle('search_form_homepage','width',(parseInt(RegExp.$1)+58) + 'px');
}
var duck=new RegExp('[\?\&]duck=([^\&]+)');
if (duck.test(window.location.href)) {
var tmp_add = 75;
if (RegExp.$1=='small') {
d.getElementById('logo').src='/icon.v102.small.png';
tmp_add = 34;
} else {
YAHOO.util.Dom.setStyle('search_wrapper_homepage','margin-top','10px');
YAHOO.util.Dom.setStyle('search_form_input_homepage','margin-top','10px');
}
YAHOO.util.Dom.setStyle('search_form_homepage','width',(parseInt(YAHOO.util.Dom.getStyle('search_form_homepage','width'))+tmp_add) + 'px');
YAHOO.util.Dom.setStyle('logo','display','block');
}
var site=new RegExp('[\?\&]site=([^\&]+)');
var ssearch = '';
if (site.test(window.location.href)) {
ssearch = RegExp.$1;
}
var prefill=new RegExp('[\?\&]prefill=([^\&]+)');
var prefill_text = '';
if (prefill.test(window.location.href)) {
prefill_text = RegExp.$1;
prefill_text = prefill_text.replace(/%20/,' ');
// alert(val);
// console.log(val);
var search_form_input_homepage = d.getElementById('search_form_input_homepage');
search_form_input_homepage.value = decodeURIComponent(prefill_text);
YAHOO.util.Dom.setStyle(search_form_input_homepage,'color','#999999');
eval("search_form_input_homepage.onclick = function() {if (this.value=='" + prefill_text + "') {this.value='';this.style.color='#000000';}}");
}
var focus=new RegExp('[\?\&]focus=([^\&]+)');
if (focus.test(window.location.href)) {
window.onload = function() {
YAHOO.util.Dom.get("search_form_input_homepage").focus();
YAHOO.util.Dom.get("search_form_input_homepage").onkeydown = function(){
if (this.value == prefill_text) {
this.value = '';
}
this.style.color = '#000000';
};
YAHOO.util.Dom.get("search_form_input_homepage").onkeyup = function(){
if (this.value == '') {
this.value = prefill_text;
this.style.color = '#999999';
}
};
};
}
var bgcolor=new RegExp('[\?\&]bgcolor=([^\&]+)');
if (bgcolor.test(window.location.href)) {
if (RegExp.$1 === 'none')
YAHOO.util.StyleSheet('DDG').set('html', {background: "transparent"});
else
YAHOO.util.StyleSheet('DDG').set('html', {background: "#" + RegExp.$1});
} else {
YAHOO.util.StyleSheet('DDG').set('html', {background: "transparent"});
}
function searchb() {
if (ssearch) d.x.q.value += ' site:'+ssearch;
return true;
}
if (document.location.protocol=='https:') {
d.x.action='https://duckduckgo.com/';
}
</script>
Save as "myfile.htm" and upload to the site host. Visit the file, copy the URL. Then drag a "web Browser" control to your form. In the URL section, enter the URL you copied. Set "display errors" to false, and debug and build. Move to starup folder on your PC, then you are done. If you want an example, you can try Fireburst Desktop.